It is important to calibrate your Ozobot before each session and/or when you change surfaces. Calibration helps improve code and line reading accuracy.
Paper Calibration Steps:
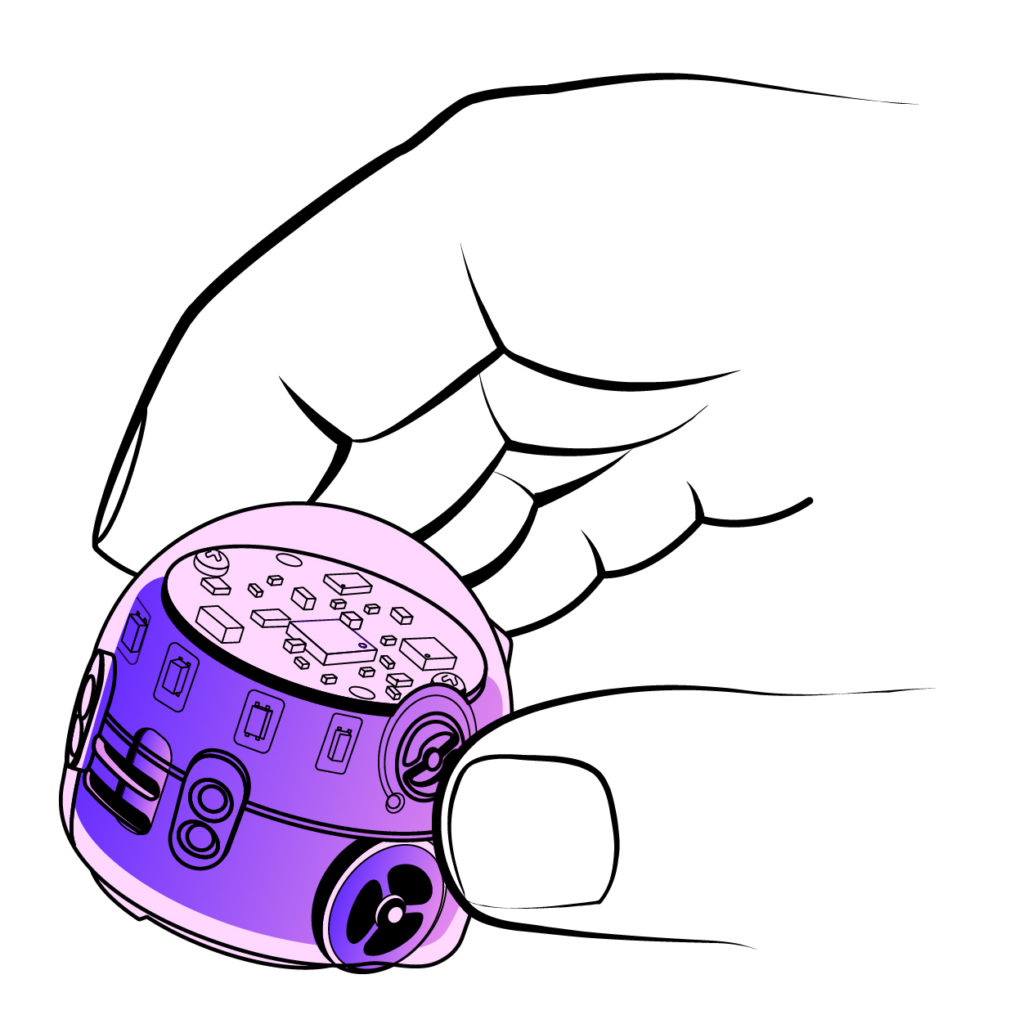
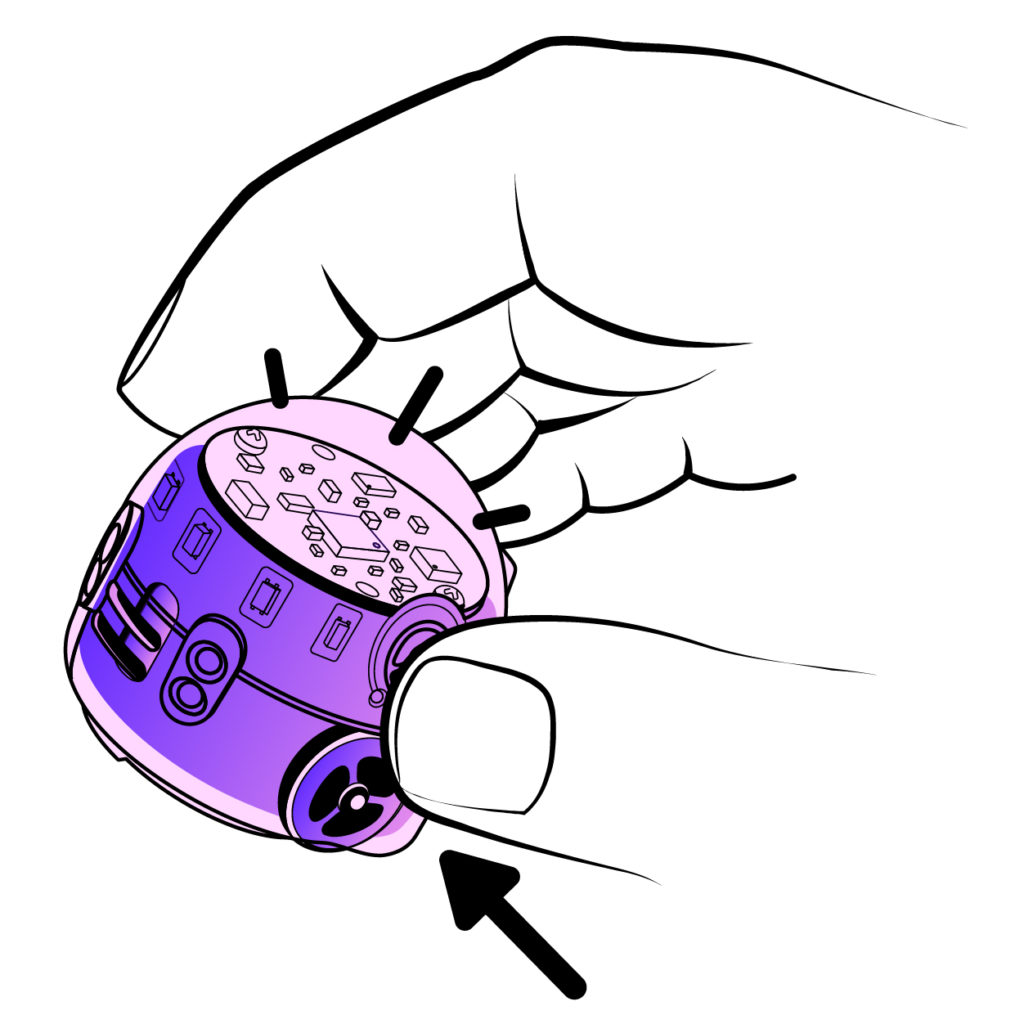
Hold down the power button on your Ozobot for 2 seconds until the LED light flashes white.
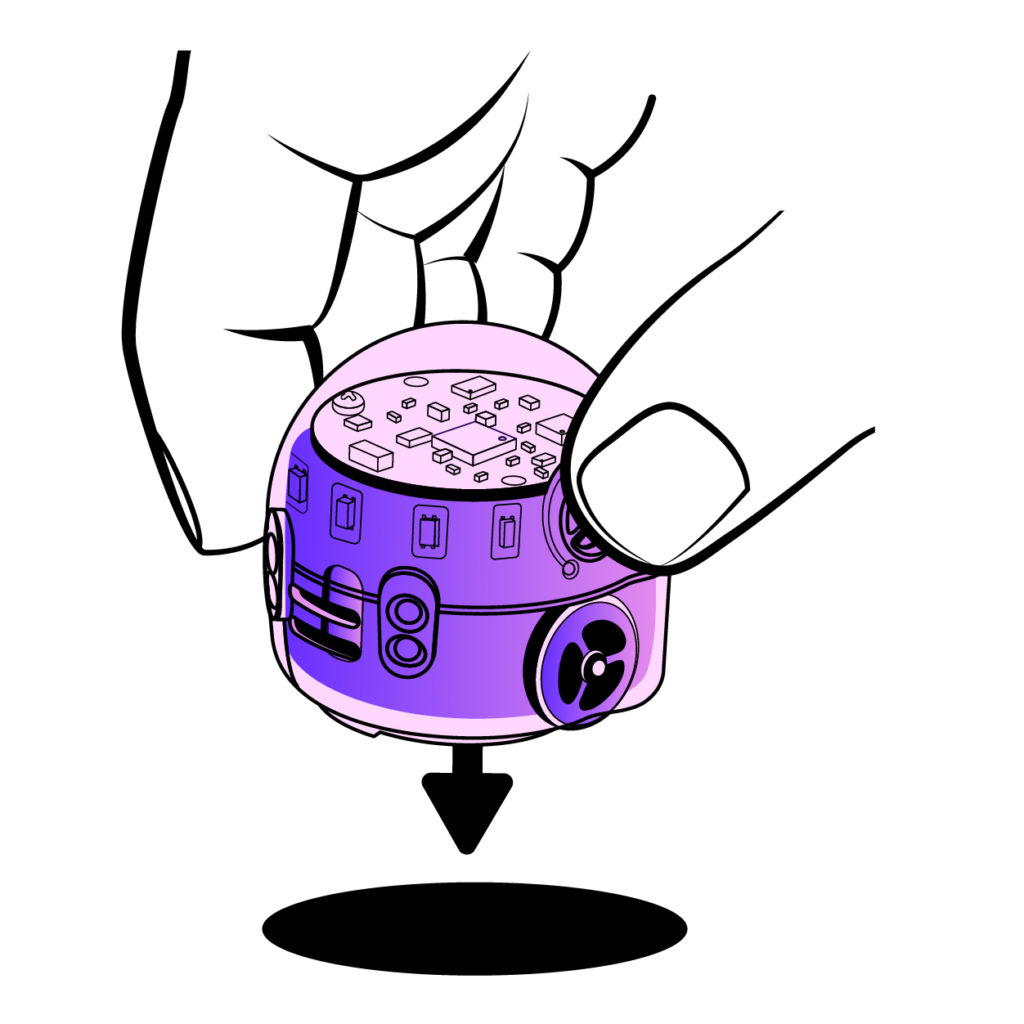
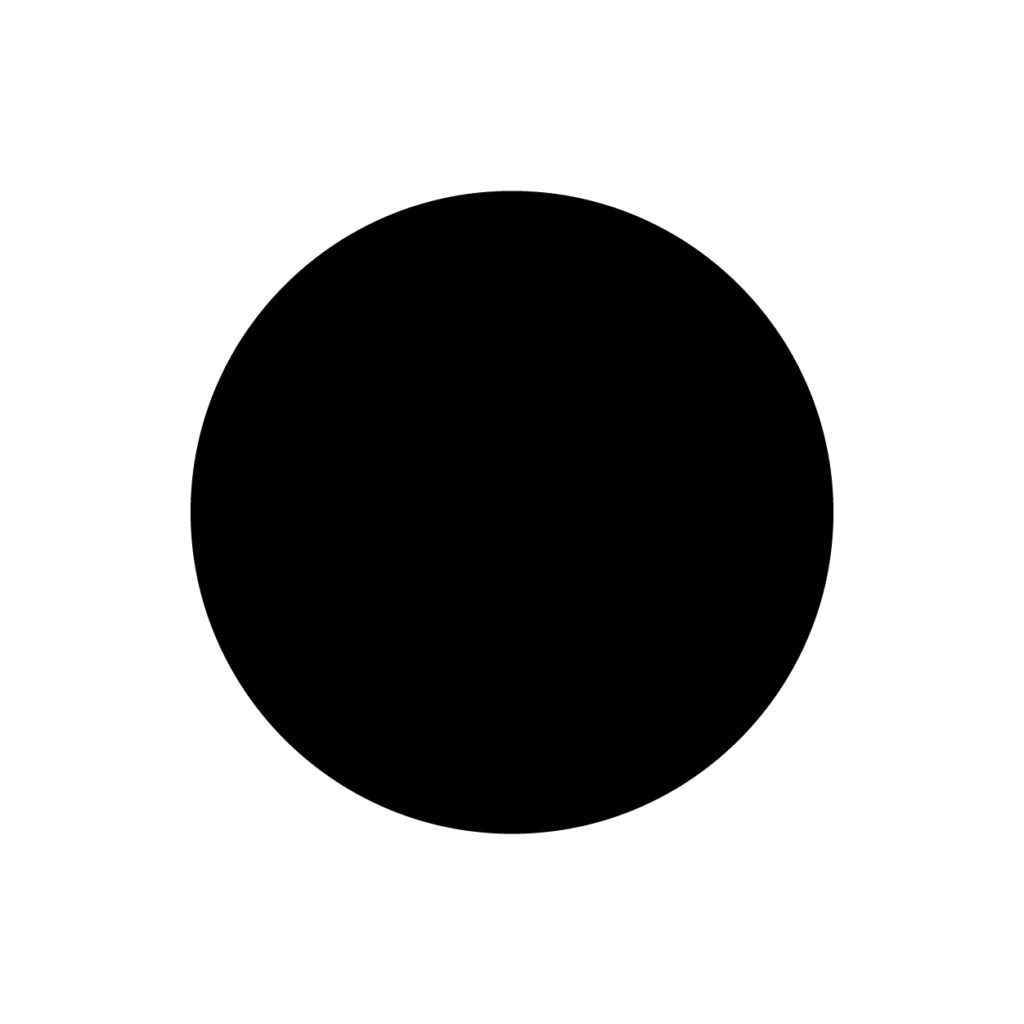
Quickly place your Ozobot in the middle of the black calibration circle.
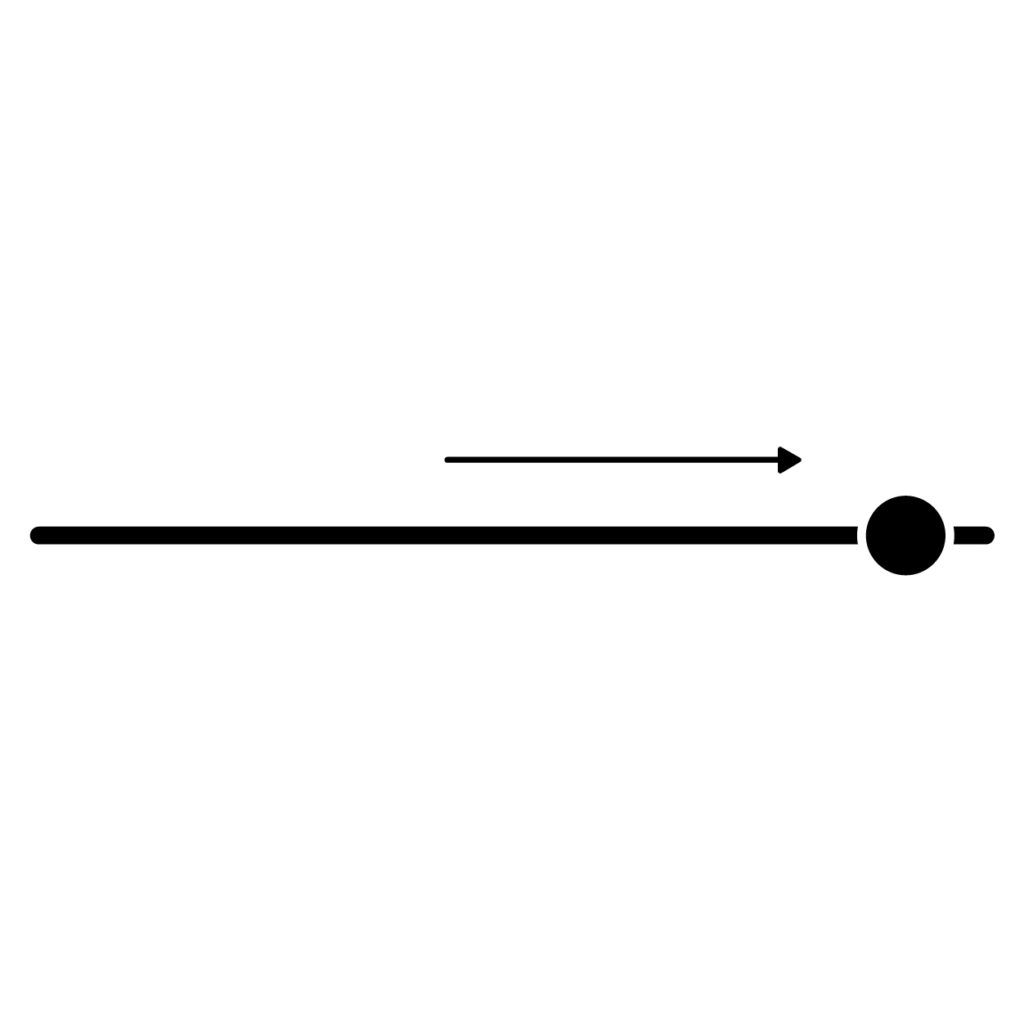
Evo will move forward slightly to calibrate wheels
Rotate 90º left
Rotate 180º right
Rotate 90º left
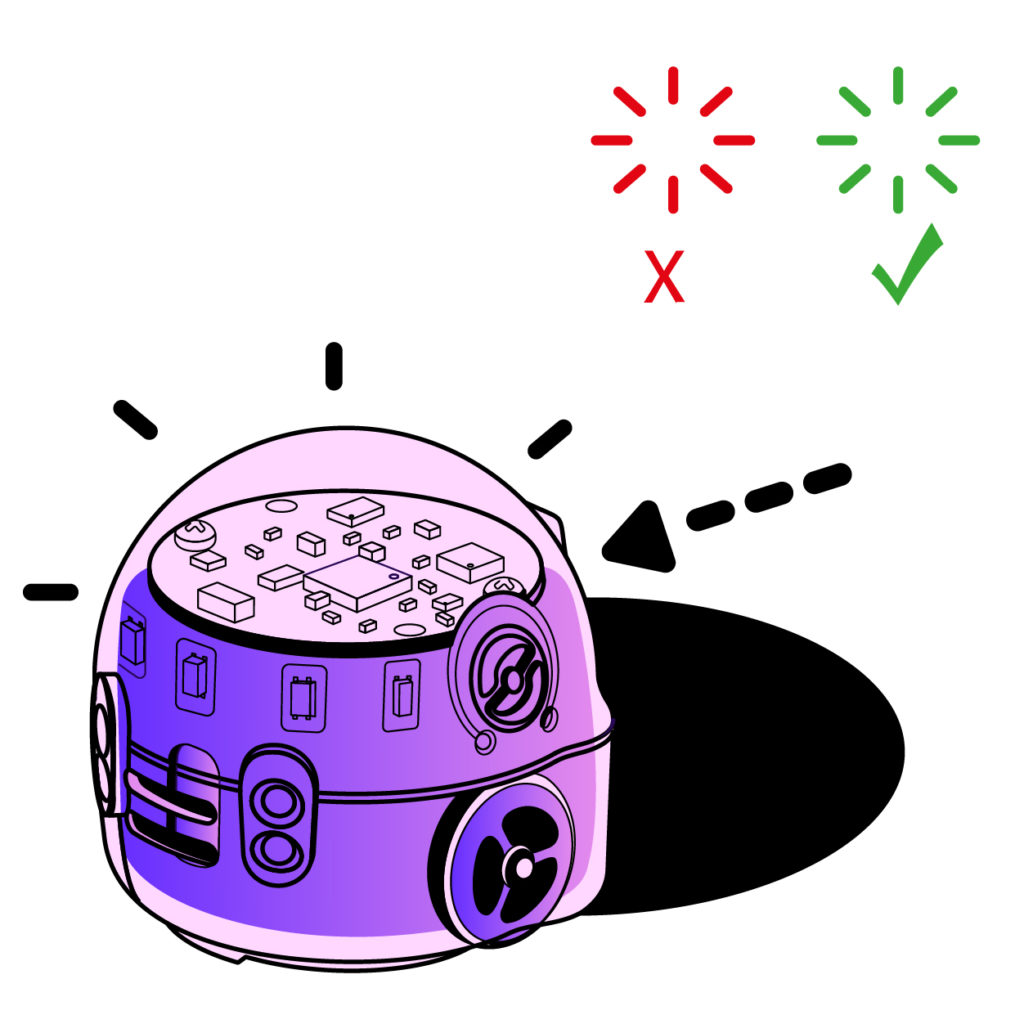
Move forward off the circle approximately 3cm forward and blink green, which means it has successfully calibrated.
Start over if your Evo blinks red.
Ozobot will calibrate on a black circle (about the size of the robot’s base). When drawing, you can create your own black circle with markers.
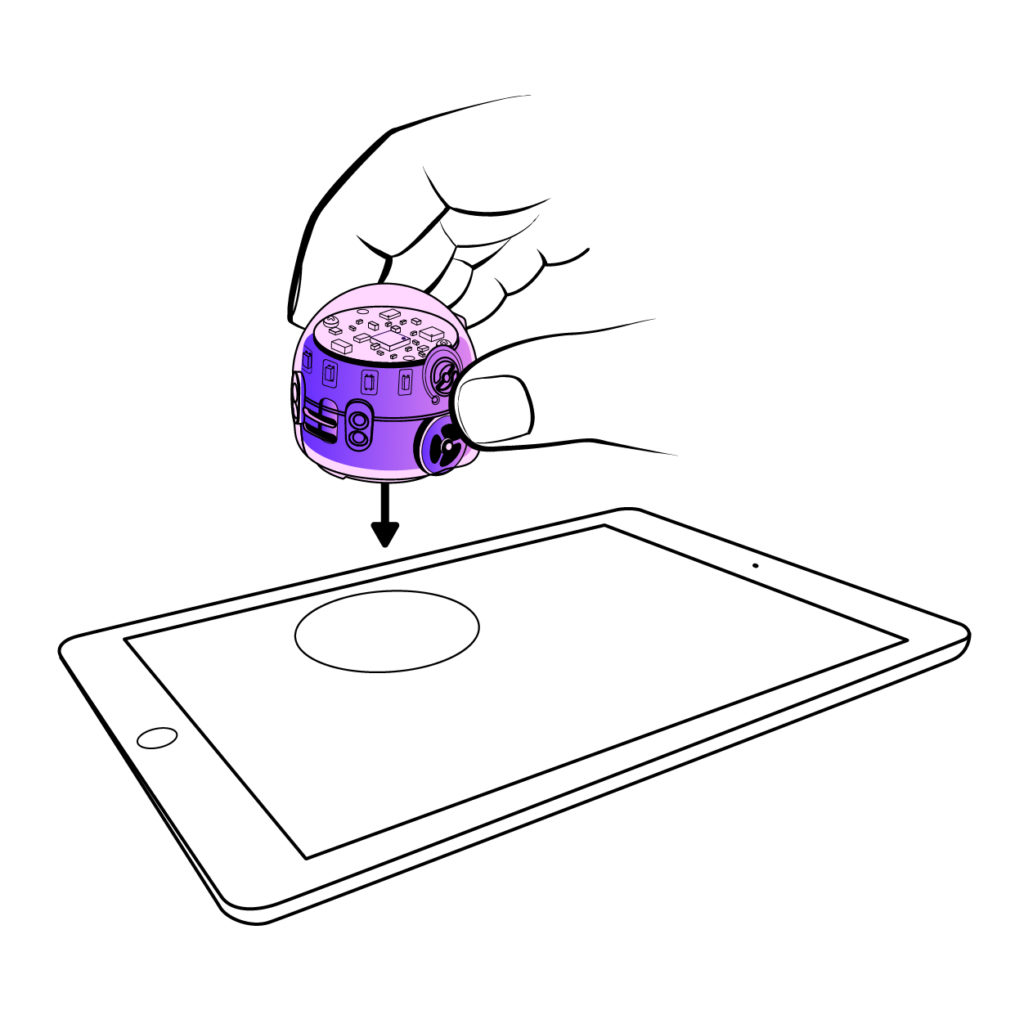
Digital Calibration Steps:
Set your screen brightness to 100%.
Hold down the power button on your Ozobot for 2 seconds. The Ozobot will flash a white light when ready.
Release button and place your Ozobot against the white spot, or to a white section of the screen. It will begin flashing white.
When your Ozobot blinks green, it means that it has successfully calibrated. Start over if your Ozobot blinks red.
Tip: Paper and digital calibrations are independent procedures and they cannot be used interchangeably. Always calibrate your Ozobot for the surface type you are using.
You Have Signed Up Successfully
You’ve been added to our mailing list and will now be among the first to hear about new arrivals, big events, and special offers.